Setting up the Aura Reflector 2.0 is easy.
This guide will help you get your Aura Reflector 2.0 up and running so you can light up the next festival with your own custom vibe.
****VIDEO GUIDE COMING SOON****
Step 1: Download the App
The Aura Reflector 2.0 uses the Surplife app for all its customizations. You can download it here:
Step 2: Connect Your Device
-
Power Up: Plug your Aura Reflector 2.0 into a power source.
-
Pairing: Open the Surplife app. It should automatically detect the reflector and prompt you to add it.
-
Manual Search: If it doesn't pop up, click the "+" icon in the top right corner. Look for a device named "DeviceXXXX" (the XXXX will be the unique four-digit code for your specific unit).
-
Orientation: Once connected, go to Settings. If the screen looks upside down or sideways, use the Flip Screen option to get it into the correct position.
Step 3: Power & Brightness Control
On the main screen, you’ll find the power button to toggle the reflector on or off.
💡 Pro Tip: We recommend setting the brightness to 50%. While 100% looks stunning, it drains the battery much faster and can be a bit overwhelming for others' eyes in the middle of a dark festival crowd!
![]()
![]()

Step 4: Customizing Your Display
Animation Gallery & Pictures

We’ve loaded the app with a library of rave-ready animations.
-
Click "Animation" to browse the gallery.
-
Adjust the Speed to match the BPM of the music.

-
Hit "Apply" to send it to your screen, or add your favorites to a Playlist.
-
The same steps apply to the "Pictures" tab for static designs.
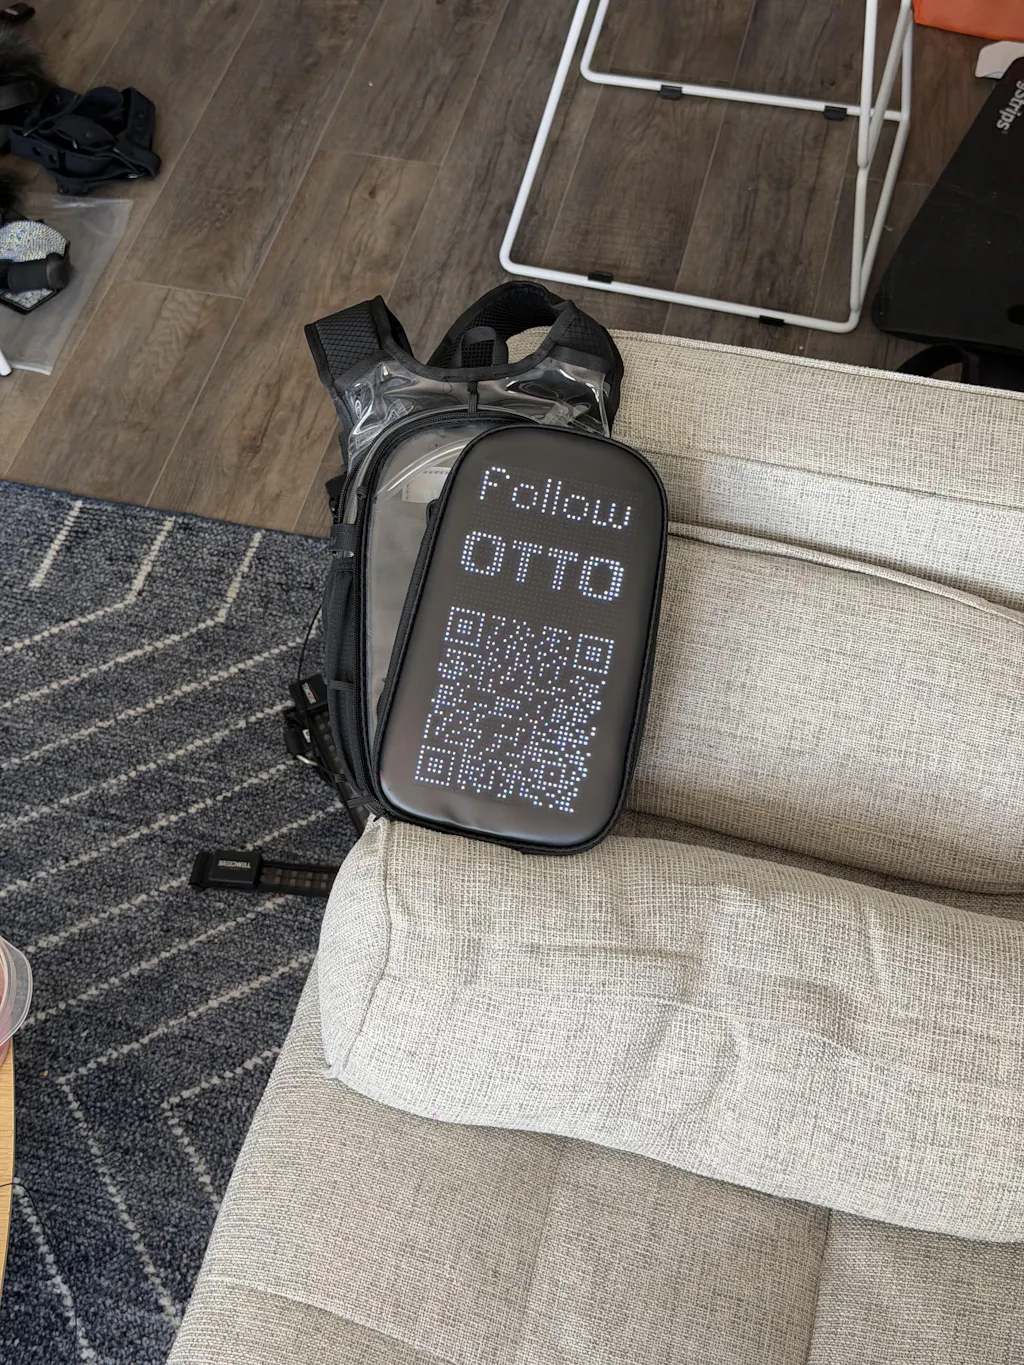
Scrolling Text
Want to send a message to the crowd?
-
Select "Text", type your message, and pick your favorite font.
-
Choose the text direction and hit Save.
DIY Pictures
Put your own face (or your pet's!) on the reflector:
-
Click the bottom right icon.
-

-
Select "Phone Album" or use the Camera.
-
Use the Rotation icon in the bottom left to fit the image in the frame. Use two fingers to zoom in and out to adjust the photo within the frame.

-
Click "Sure", then "Save".
-
Select your creation and hit "Apply".
Step 5: Advanced DIY Animations (GIFs)
You can upload any GIF to the screen. If you need inspiration, the GIPHY app is a goldmine for free animations.
-
Save a GIF to your phone's photo library.
-
In the app, click "DIY Animation" and tap the second icon on the bottom right.
-
Select your GIF from your album.
-
Use the Rotation icon to fit it into the frame (Use two fingers to zoom in and out to adjust the animation within the frame) and click Confirm.
-
When asked to "clear all canvases," click Confirm, then Save

-
To change the speed: Click Edit, tap the Gear Icon (Settings), and adjust the slider.


Step 6: Setting Up Your Playlist
Why settle for one look when you can have twenty?
-
Create a Playlist to cycle through different animations.
- Go to Animation, choose an animation, then click “Add to Playlist.

-
You can add up to 20 files (depending on file size).
-
Adjust Timing: Click Edit, then tap the Time to set how long each animation stays on screen.


-
Once ready, hit "Play" to sync the entire loop to your Aura Reflector.
Have an Aura Reflector 1.0? Click here to watch the installation guide.