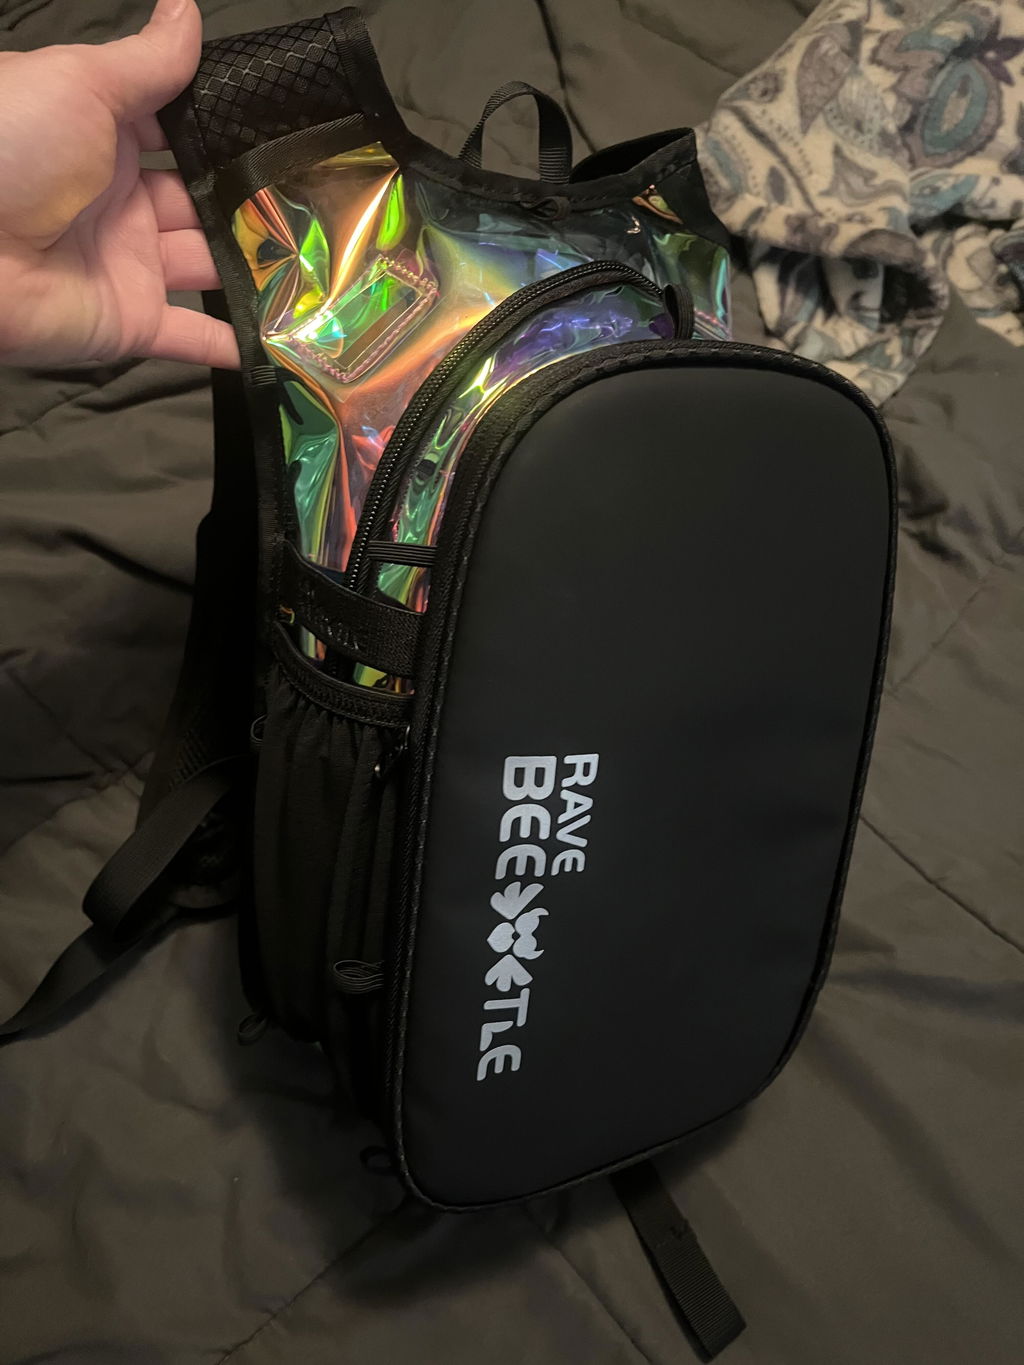
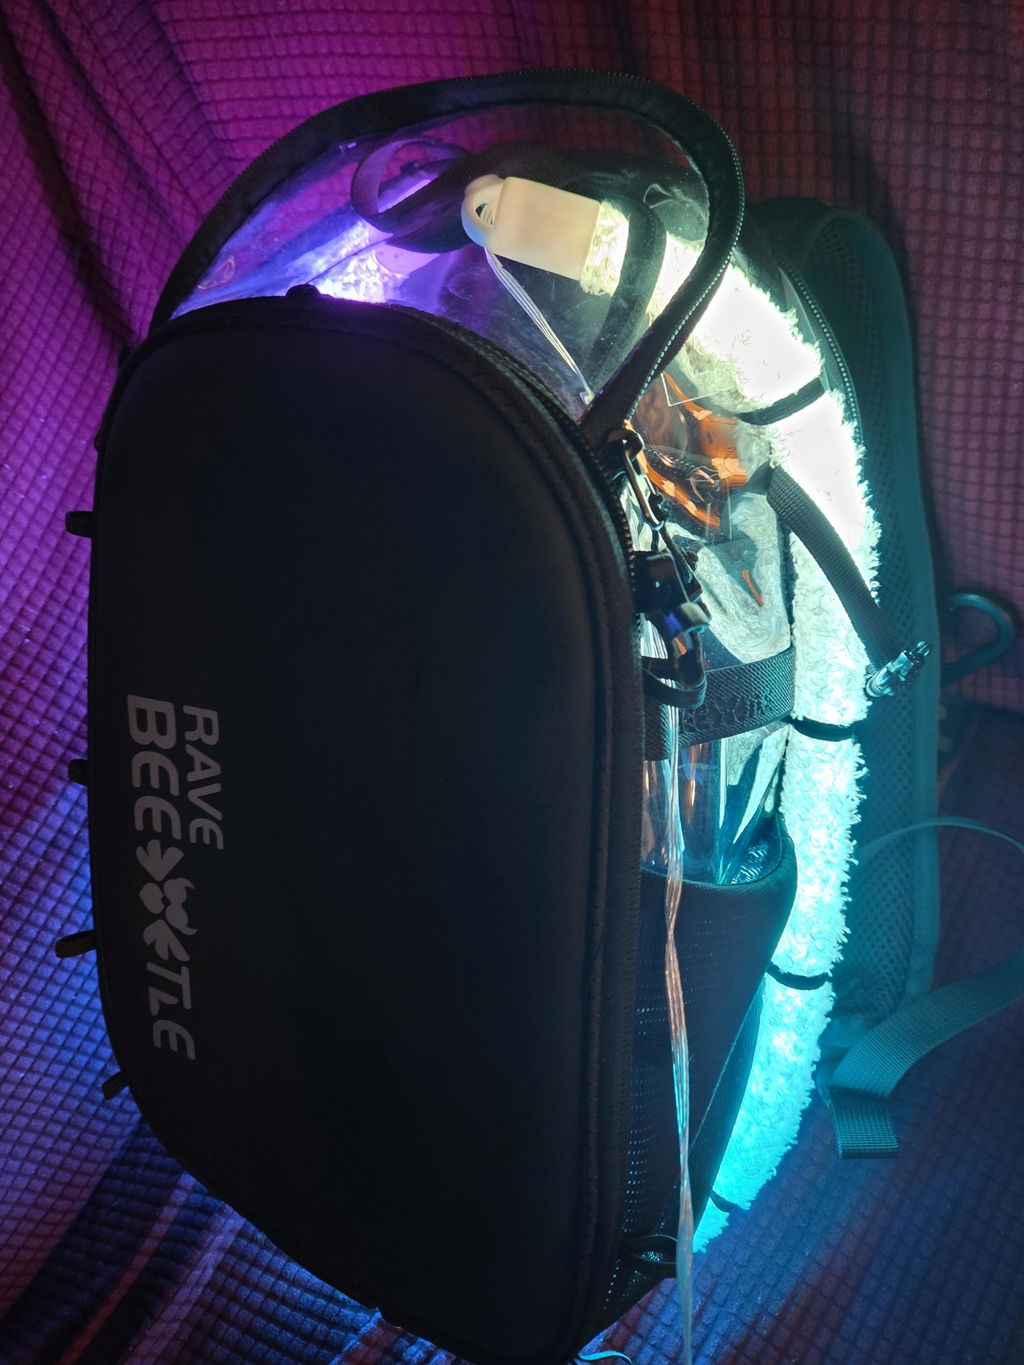
This guide will help you get your Aura Reflector 2.0 up and running so you can light up the next festival with your own custom vibe.
Step 1: Download the App
The Aura Reflector 2.0 uses the Surplife app for all its customizations. You can download it here:
-
iOS: Apple App Store
-
Android: Google Play Store
Step 2: Connect Your Device
-
Power Up: Plug your Aura Reflector 2.0 into a power source.
-
Pairing: Open the Surplife app. It should automatically detect the reflector and prompt you to add it.
-
Manual Search: If it doesn't pop up, click the "+" icon in the top right corner. Look for a device named "DeviceXXXX" (the XXXX will be the unique four-digit code for your specific unit).
-
Orientation: Once connected, go to Settings. If the screen looks upside down or sideways, use the Flip Screen option to get it into the correct position.
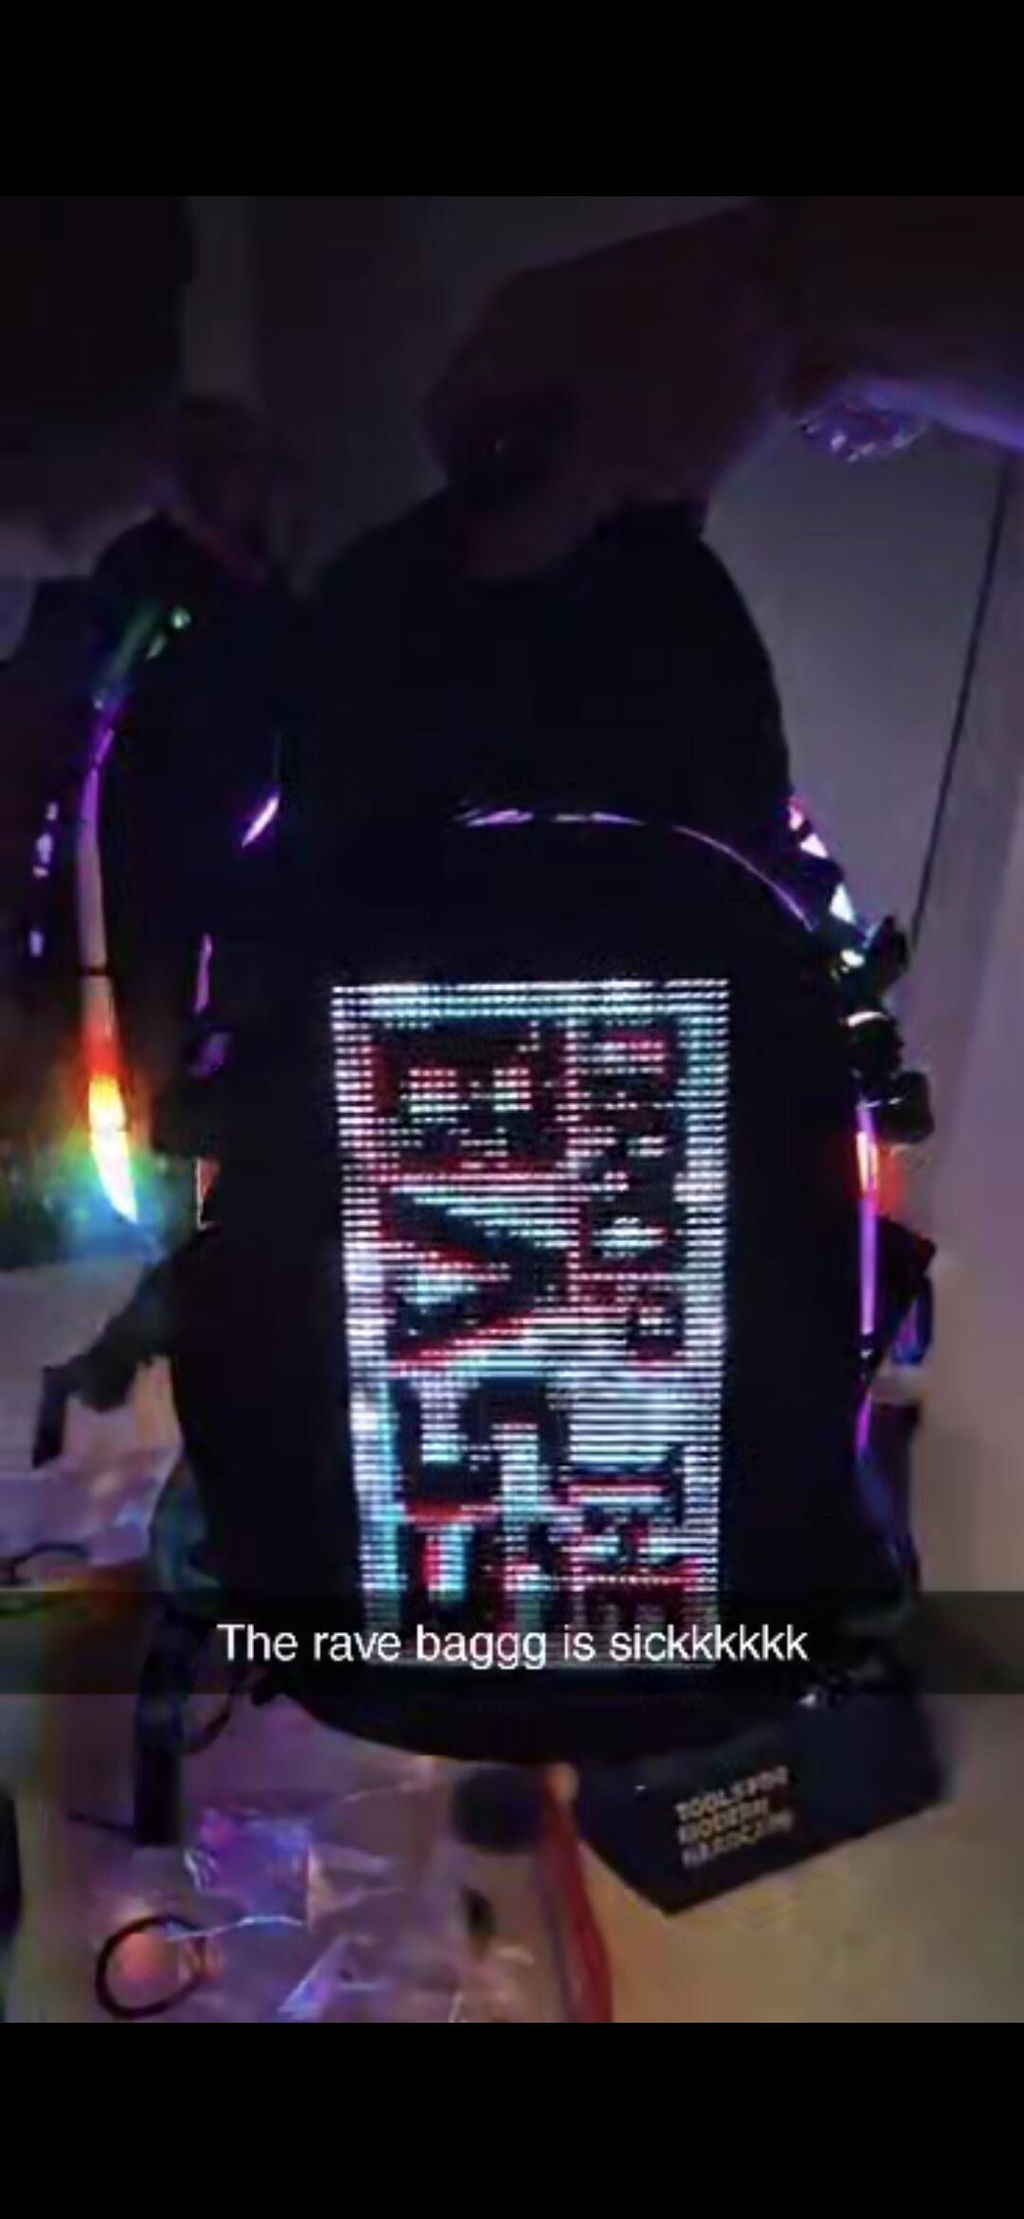
Step 3: Power & Brightness Control
On the main screen, you’ll find the power button to toggle the reflector on or off.
💡 Pro Tip: We recommend setting the brightness to 50%. While 100% looks stunning, it drains the battery much faster and can be a bit overwhelming for others' eyes in the middle of a dark festival crowd!

Step 4: Customizing Your Display
Animation Gallery & Pictures

We’ve loaded the app with a library of rave-ready animations.
-
Click "Animation" to browse the gallery.
-
Adjust the Speed to match the BPM of the music.

-
Hit "Apply" to send it to your screen, or add your favorites to a Playlist.
-
The same steps apply to the "Pictures" tab for static designs.
Scrolling Text
Want to send a message to the crowd?
-
Select "Text", type your message, and pick your favorite font.
-
Choose the text direction and hit Save.
DIY Pictures
Put your own face (or your pet's!) on the reflector:
-
Click the bottom right icon.
-

-
Select "Phone Album" or use the Camera.
-
Use the Rotation icon in the bottom left to fit the image in the frame. Use two fingers to zoom in and out to adjust the photo within the frame.

-
Click "Sure", then "Save".
-
Select your creation and hit "Apply".
Step 5: Advanced DIY Animations (GIFs)
You can upload any GIF to the screen. If you need inspiration, the GIPHY app is a goldmine for free animations.
-
Save a GIF to your phone's photo library.
-
In the app, click "DIY Animation" and tap the second icon on the bottom right.
-
Select your GIF from your album.
-
Use the Rotation icon to fit it into the frame (Use two fingers to zoom in and out to adjust the animation within the frame) and click Confirm.

-
When asked to "clear all canvases," click Confirm, then Save

-
To change the speed: Click Edit, tap the Gear Icon (Settings), and adjust the slider.


Step 6: Setting Up Your Playlist
Why settle for one look when you can have twenty?
-
Create a Playlist to cycle through different animations.
- Go to Animation, choose an animation, then click “Add to Playlist.

-
You can add up to 20 files (depending on file size).
-
Adjust Timing: Click Edit, then tap the Time to set how long each animation stays on screen.


-
Once ready, hit "Play" to sync the entire loop to your Aura Reflector.