You fill it with clean water, you sip from it all day, and yet it still develops funky tastes and spots you'd rather not think about. Hydration packs are perfect for long rides, trail days, and festivals, thanks to their large capacity, but their performance can be compromised as they are also perfect environments for biofilm, mold, and odors if you ignore them. The good news: cleaning one is simple once you follow a consistent method and use tools that make the hard-to-reach parts easy.
Below is a clear, field-tested routine with options for quick rinses, deep cleans, emergency fixes, and long-term care for your hydration pack. You'll also find exact solution ratios, gear recommendations, and drying methods that prevent the number one issue people face: putting a damp bladder away and growing a science experiment.
What You'll Need
1.Mild dish soap
2.One or more cleaners:
● Baking soda
● Lemon juice
● Unscented household bleach
● White vinegar
● Cleaning tablets or denture tabs
3.Brushes:
● Reservoir brush
● Long, flexible tube brush
● Small brush or cotton swabs for the bite valve
4.Drying helpers:
● Reservoir hanger, clothes hanger, or a coat hanger bent into a U
● Kitchen whisk, spatula, or bottle to prop the opening wide
● Clothespins or binder clips
5.Extras that help a lot:
● A knotted cord that fits snugly in the tube
● A large syringe or turkey baster for backflushing
● Paper towels or clean tea towels
● Food-grade silicone grease for O-rings and quick-connects
Optional: Use a Hydration Pack Cleaning Kit
For an easier, all-in-one cleaning setup, you can use a dedicated Hydration Bladder Cleaning & Drying Kit. It includes all the tools needed to reach tight corners and keep your reservoir dry between uses:
l Collapsible drying frame that props the bladder open so air can circulate fully.
l Reservoir brush designed to scrub seams and curved surfaces.
l Long, flexible tube brush that runs through the entire drink tube for a thorough clean.
l Mini brush for the bite valve and other small parts where residue tends to hide.
This compact kit keeps everything organized and makes routine cleaning much faster—especially useful during multi-day festivals or frequent rides.
The Fast Routine After Every Use
This 5 to 7 minute reset stops funk before it starts. Do it the day you finish your activity.
1. Empty and rinse
● Drain any leftover water.
● Rinse the bladder with warm water. Fill and shake twice.
● Pinch the bite valve to pull clean water through the tube.
2. Soap and swish
● Add a drop or two of dish soap and warm water.
● Shake well, then run some through the tube.
3. Quick brush
● Swipe the reservoir brush around the big surfaces.
● Pull the tube brush through once if you drank anything besides water.
4. Rinse until the taste is neutral
● Rinse bladder, tube, and bite valve until no suds remain.
5. Dry wide open
● Hang the bladder upside down. Prop the opening fully open.
● Hang the tube separately so any water drips out.
● Leave the bite valve disconnected and open to air.
Short on time? Store the dry tube and valve in a breathable bag, and set the bladder in the freezer once most water has dripped off. Freezing the bladder pauses mold growth between full cleanings.

Deep Clean Step-by-Step
Plan on about 20 to 35 minutes including soak time.
Step 1: Disassemble completely
● Remove the tube and bite valve from the bladder.
● If you have a quick-connect, separate it and set the O-ring aside.
● Pull off any dust covers or locks on the bite valve.
Step 2: Choose your cleaning solution
● Water only or electrolytes yesterday: dish soap is usually enough.
● Sweet drinks, visible film or specks, or strong odor: use one of the listed cleaners below, then follow with dish soap.
Step 3: Fill and prime the tube
● Add warm water and your cleaner to the bladder, seal it, and shake.
● Lift the reservoir high and run cleaner through the tube by pinching the valve. This exposes every surface to the solution.
Step 4: Soak
● Tablets often call for about 5 minutes.
● Home mixtures work well at about 20 minutes.
● For heavy growth, go 30 minutes and agitate once midway.
Step 5: Scrub
● Use the reservoir brush to reach corners and seams.
● Pull the tube brush through from both ends. If you don't have a tube brush, use a knotted cord, pulling the knot through a few times.
● Scrub the bite valve inside and out. If there is a lock, clean around its moving parts.
Step 6: Wash with dish soap and rinse thoroughly
● Empty the cleaner from the bladder. Fill with warm water and a little dish soap.
● Scrub briefly again and rinse until there is no scent, no suds, and no lingering taste.
● Backflush the tube with a large syringe or by running water from the bite-valve end toward the bladder to remove any remaining residue.
Step 7: Dry completely
● Hang the bladder upside down with the opening propped wide.
● Hang the tube straight or in a loose curve to let gravity work.
● Keep everything in a dry, well-ventilated spot. Avoid steamy bathrooms.
Cleaning Solutions Cheat Sheet
|
Solution |
Ratio per liter |
Strengths |
Best use cases |
Cautions and taste notes |
|
Mild dish soap |
1 to 2 drops |
Cuts film, easy on materials |
Routine cleans, post-tablet wash |
Rinse well to remove suds |
|
Baking soda |
2 tablespoons |
Neutralizes odors, gentle |
Plasticky taste, light funk |
Low sanitizing power alone |
|
Lemon juice |
2 tablespoons |
Fresh scent, reduces strong odors |
Post-mold deodorizing |
Can react with bleach, never mix with bleach |
|
White vinegar |
1/4 cup |
Dissolves mineral scale |
Hard water deposits |
Never mix with bleach, rinse thoroughly to avoid aftertaste |
|
Unscented bleach |
1 teaspoon |
Kills microbes effectively |
Mold remediation, sanitizing |
Do not exceed ratios, never mix with acids like vinegar or lemon. Rinse until no chlorine smell remains |
|
Cleaning tablets |
As directed |
Convenient, targeted action |
All-around cleaning |
Some leave a mild aftertaste if not rinsed well |
|
Denture tablets |
1 tab per liter |
Inexpensive, foaming action |
Budget alternative |
Rinse thoroughly, not a high-level sanitizer |
Important safety notes:
● Never mix bleach with vinegar or lemon juice. That creates toxic gas.
● Bleach and baking soda together are generally safe, but do not exceed the tiny bleach amounts listed above.
● Use warm water (below 120°F / 50°C), not boiling. High heat can distort TPU film, warp seals, and weaken adhesives.
Hose and Bite Valve Care That Actually Works
The tube and valve are where taste issues hide. They need special attention.
Backflushing: Fill a large syringe with clean water and push from the bite-valve end toward the bladder. This breaks loose residue.
Tube brushing: Use a flexible brush sized for your tube. Feed it fully through from both ends.
Knotted cord trick (emergency option): Tie a smooth knot that fits snugly inside the tube. Wet the cord, then pull through several times. Note: This is less effective than a proper brush for removing biofilm.
Bite valve reset: Soak the valve in your cleaning solution, then scrub with a small brush and rinse well. If the silicone looks gummy or cracked, replace it. Valves are inexpensive and make a big difference.
Quick-connects and O-rings: Clean and dry these parts thoroughly. A tiny dab of food-grade silicone grease keeps O-rings from cracking and helps prevent drips.
If your tube has an insulation sleeve, remove it to clean and dry the tube separately to ensure maximum drying capacity. If the sleeve is not removable, run plenty of solution through the tube, then force fresh air through with a syringe so it dries internally.

Drying Like a Pro
Drying is where most people cut corners. That's also where mold wins.
Open wide: Use a hanger, a whisk, or a spatula to hold the bladder mouth fully open so air reaches every surface.
Hang it high: Suspend the bladder upside down so water falls away from seams and the cap.
Separate everything: Remove the tube and bite valve while drying, and detach any quick-connects.
Speed it up: Set a small fan nearby. Avoid humid rooms. A laundry room or gear closet with airflow works well.
Paper towel wick: For stubborn droplets in corners, slide a twisted strip of paper towel inside to wick moisture, then remove. Use high-quality paper towels that won't leave lint behind.
If you need to store the hydration pack or bladder before it is bone dry, choose the freezer. Close it loosely so air can escape, then place it inside a clean bag to keep food smells out. Important: This only pauses microbial growth—it doesn't kill existing bacteria or mold. Clean thoroughly before freezing.
Odors, Stains, and Mold: Fix It Without Guesswork
Light odor, no visible spots:
● Baking soda soak for 20 minutes, then dish soap wash and rinse.
Sweet drink residue:
● Cleaning tablet or dish soap first, then baking soda or lemon juice for taste.
Hard water stains or cloudy film:
● Vinegar soak for 15 minutes, scrub, rinse, then dish soap wash.
Visible black or pink spots:
● Mix 1 teaspoon of unscented bleach per liter of warm water, soak for 30 to 60 minutes, scrub thoroughly, rinse until there is absolutely no chlorine smell, then wash with dish soap and rinse again. Any remaining bleach can be harmful and will affect taste.
If spots remain or the tube still tastes off after a full bleach cycle, replace the tube and bite valve to maintain optimal performance. They are wear parts and swapping them keeps the rest of your system in top shape.
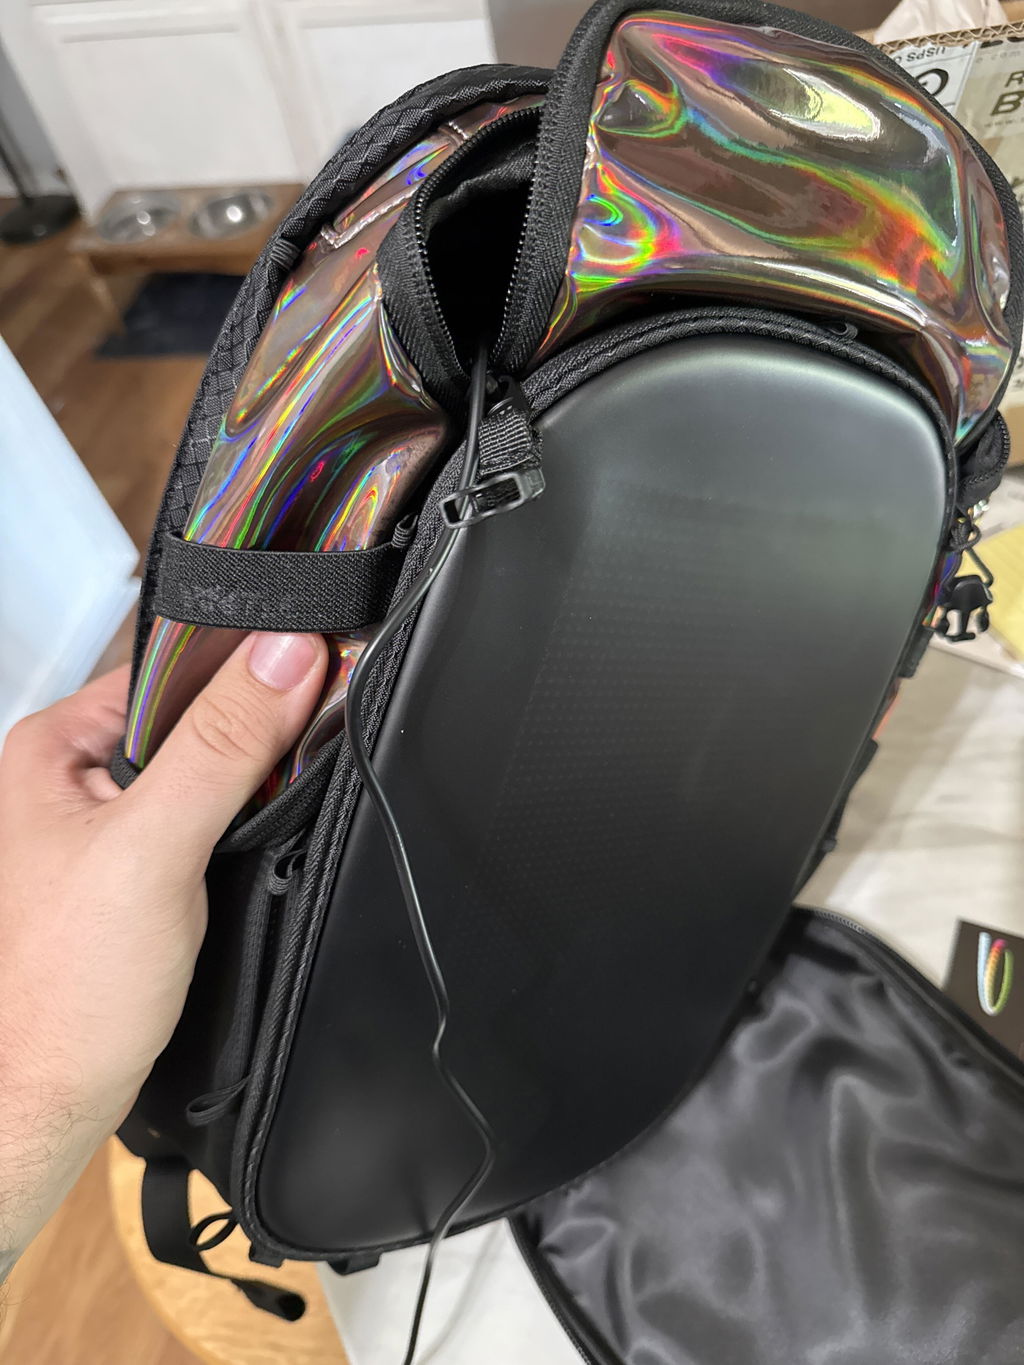
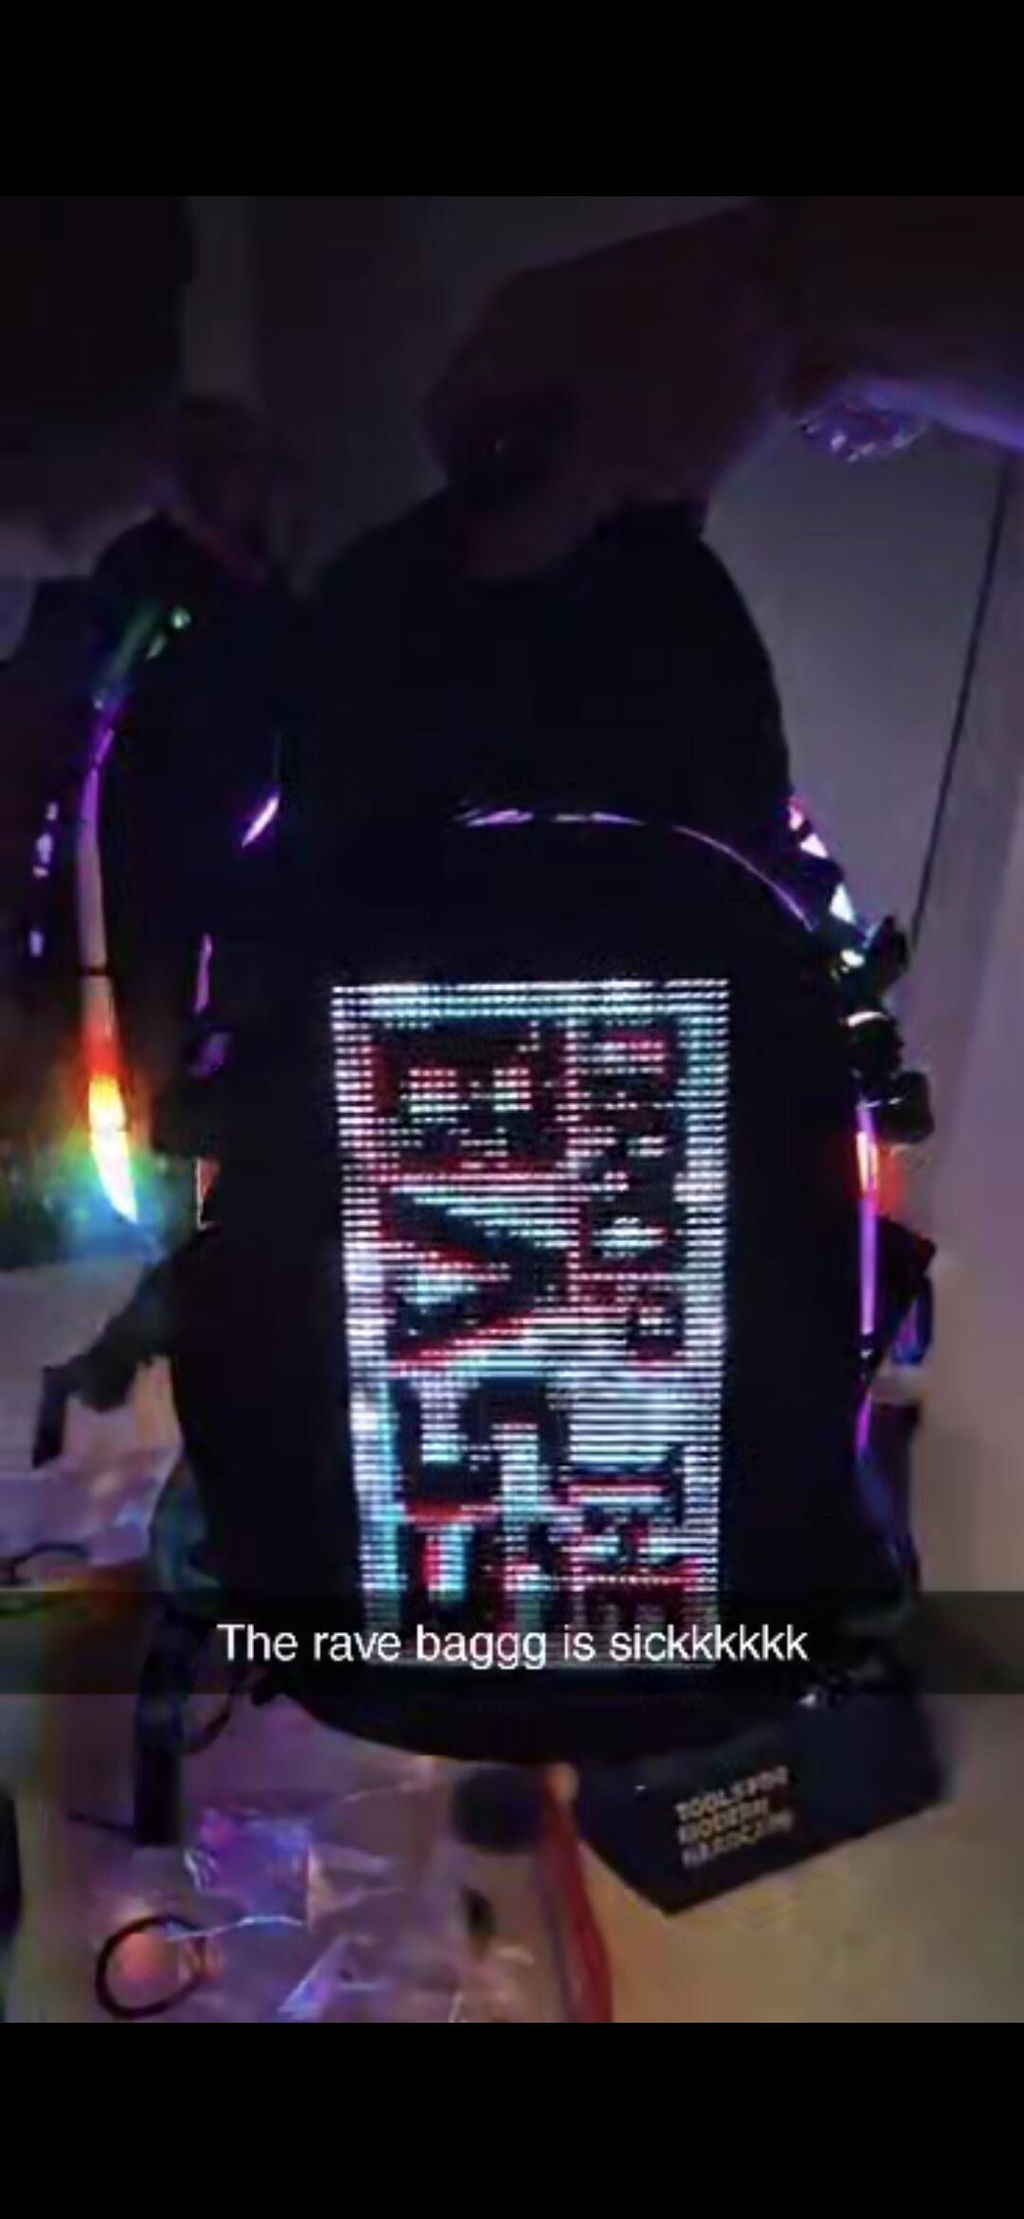
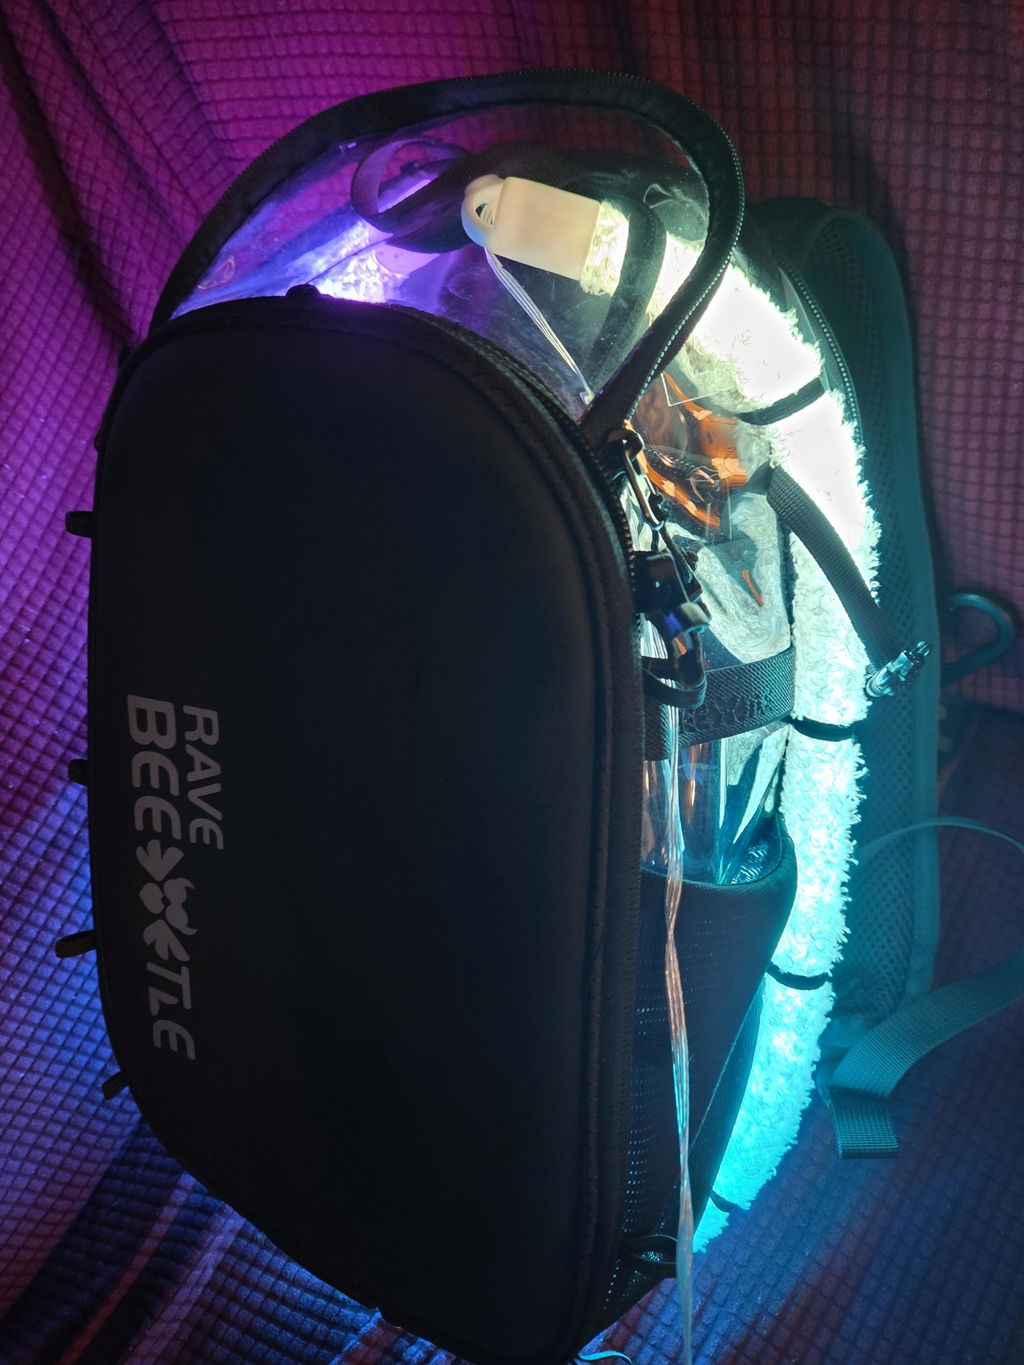
Special Features and How to Treat Them
Many modern hydration packs feature insulated compartments, quick-access strap pockets, anti-theft zippers, or even LED accessories and cable pass-throughs. A few simple precautions protect those upgrades.
● Remove electronics and batteries before you clean anything. Keep power banks, LED panels, and cables far from liquids.
● Keep cleaners inside the reservoir system. Do not splash bleach or vinegar on the fabric shell, printed panels, or reflective coatings.
● If your tube clips to the strap, unclip and clean it separately. Small clips trap grit that can abrade the tube.
● If you use a strap phone pocket or card pocket, empty it and wipe it with a damp cloth only. Let it dry fully before packing valuables.
● Do not use boiling water in a TPU or PE reservoir. Warping is permanent.
● Do not use abrasive scouring pads inside the bladder. Scratches help biofilm stick.
● Do not store the bladder sealed while damp.
● Do not overshoot bleach ratios. More is not better, it is just harder to rinse and can shorten the life of soft parts.
● Do not mix bleach with vinegar or lemon juice.
● Do not machine wash or dry the bladder, tube, or bite valve.
Maintenance Schedule That Keeps Water Fresh
After any use with water only:
● Rinse, quick soap swish, run water through tube, dry fully.
After electrolytes or sweet drinks:
● Cleaning tablet or dish soap scrub, tube brush, rinse, dry fully.
Monthly if used weekly:
● Deep clean with your preferred solution, then dish soap and thorough drying.
After long storage:
● Rinse, baking soda soak for taste, then dish soap wash and dry.
Winter or long pause:
● Clean thoroughly, dry completely, store either in the freezer or hanging open in a dry closet.
Plan to replace the bite valve every season of heavy use or at the first sign of stickiness or tears. Replace the tube when it stains, stays cloudy, or continues to taste odd after cleaning.
Field Care for Weekends and Festivals
Dust, heat, and long hours call for a smarter on-the-go routine. Pack a slim "hydration first aid" kit.
Small kit list:
● A few cleaning tablets or denture tabs
● A mini bottle of dish soap
● A compact tube brush or a knotted cord
● Two clothespins and a short cord to hang the bladder
● A quart-size zip bag for the bite valve when not in use
Between days:
● Empty and rinse the bladder at night.
● Use a tablet, soak while you shower, then rinse and hang in the least humid spot you can find.
● Keep the bite valve covered when not drinking to keep dust out.
If your pack includes strap pockets for cards and phones, wipe them down and let them dry before morning. Sweat and dust will accumulate in those areas faster than you expect.
The reservoir and hydration pack are only half the setup, and understanding their capacity is crucial for optimal use.The fabric shell needs occasional care too.
● Empty the pack and shake out dust and grit.
● Spot clean with a damp cloth and a tiny amount of mild soap.
● Rinse by wiping with a clean wet cloth. Avoid soaking foam panels.
● Air dry fully. Keep away from direct high heat.
● Lubricate zippers lightly with a dry lube if they feel gritty.
● Inspect hose ports and cable pass-throughs, clearing any trapped dirt so the tube slides freely next time.
New bladder, plasticky taste:
● Baking soda soak for 30 minutes, rinse, lemon juice for 10 minutes, then rinse and dry. It usually fades after a couple of uses.
Persistent soap taste:
● Long rinse with warm water and a baking soda solution. Run plenty through the tube and valve.
Metallic or chemical smell from tap water:
● Use filtered water for filling, and keep a small packet of baking soda in your kit for quick odor resets.
Good cleaning extends life, but some parts have a limited lifespan.
Bite valve: Replace if it drips when closed, tastes off after cleaning, or shows cracks.
Tube: Replace if it stays discolored, feels sticky, or you see internal scaling you cannot brush away.
Bladder: Replace if seams look delaminated, the cap no longer seals, or odors persist even after a full sanitizing cycle.
Keep a spare bite valve and tube on hand. Swapping them takes seconds and saves a trip.
A Practical Checklist You Can Save
After each use:
● Rinse, soap swish, tube rinse, dry wide open
Weekly or after sugary drinks:
● Cleaning solution soak, brush bladder and tube, dish soap wash, rinse well, dry
Drying:
● Hang upside down, opening propped open, tube and valve separated
Special cases:
● Hard water stains: vinegar cycle
● Odors: baking soda or lemon cycle
● Mold spots: bleach dose (1 tsp per liter), long rinse until no chlorine smell, dish soap wash
Storage:
● Bone dry and open in a closet, or capped loosely in the freezer
Clean water tastes better, you drink more of it, and your pack lasts longer. A few minutes of care pays off every mile, every climb, and every set.
Different hydration packs use varying materials and bonding methods. If any of the cleaning steps or solution ratios conflict with your specific product’s care instructions, always follow the manufacturer’s official guidelines.
Want a Visual Walkthrough? Watch the Cleaning Tutorial
If you prefer learning by watching rather than reading, you can follow our step-by-step hydration pack cleaning tutorial on YouTube. It walks through the full process — from disassembly to brushing to proper drying — so you can see exactly how each part should look when clean.
Watch the full video here. This is especially helpful if you're new to hydration packs or want to double-check your technique for festival prep.
A clean hydration pack means better-tasting water, longer-lasting gear, and improved performance with one less thing to worry about on the dance floor. The few minutes you spend on maintenance pay back in reliability and peace of mind.
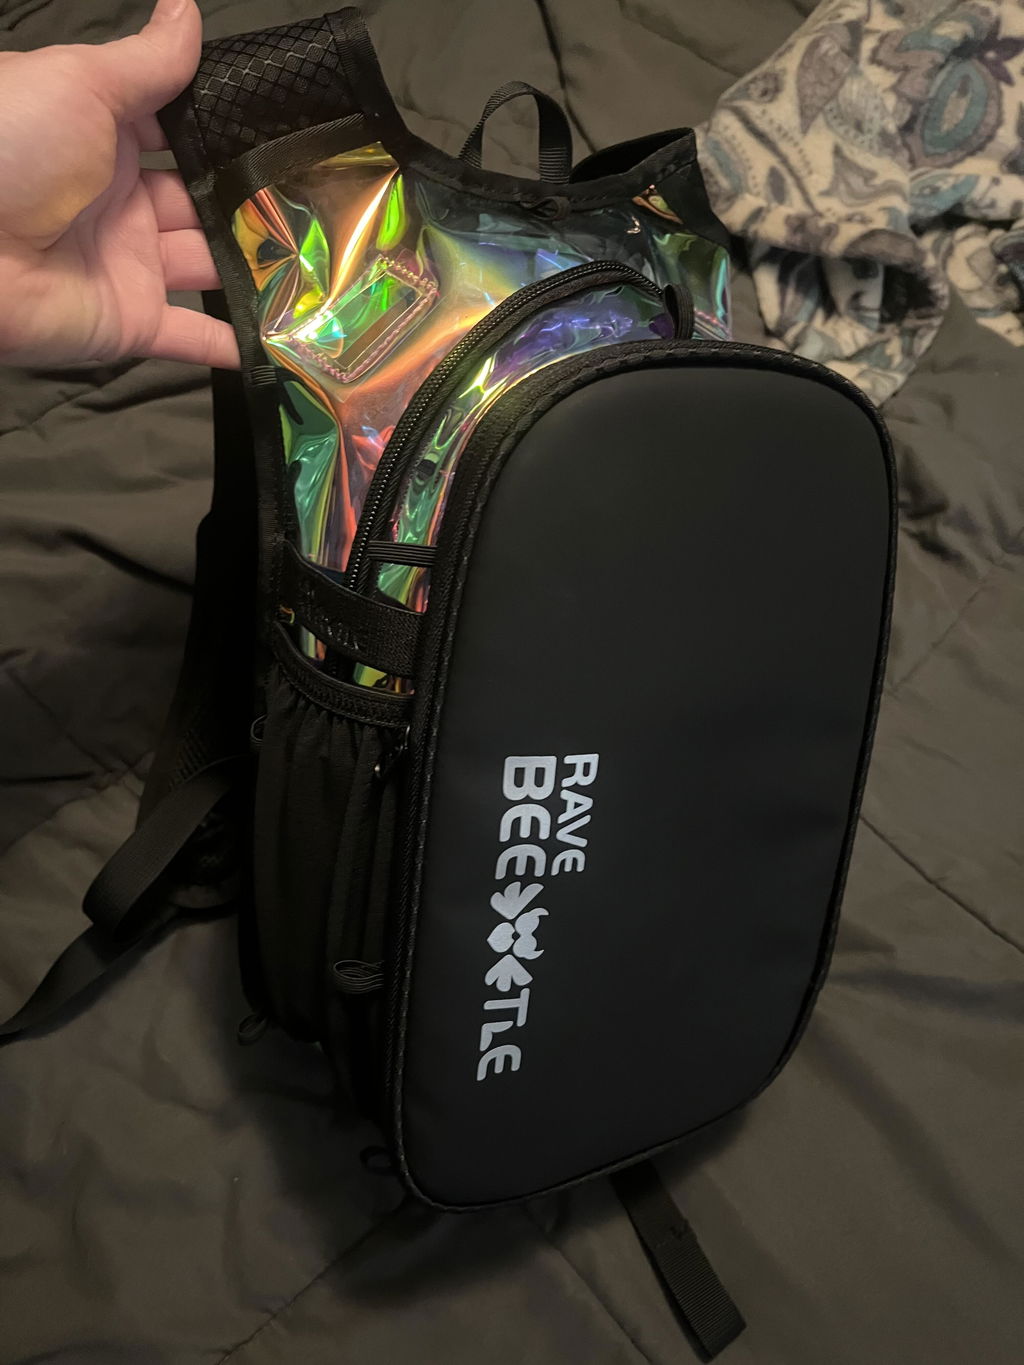
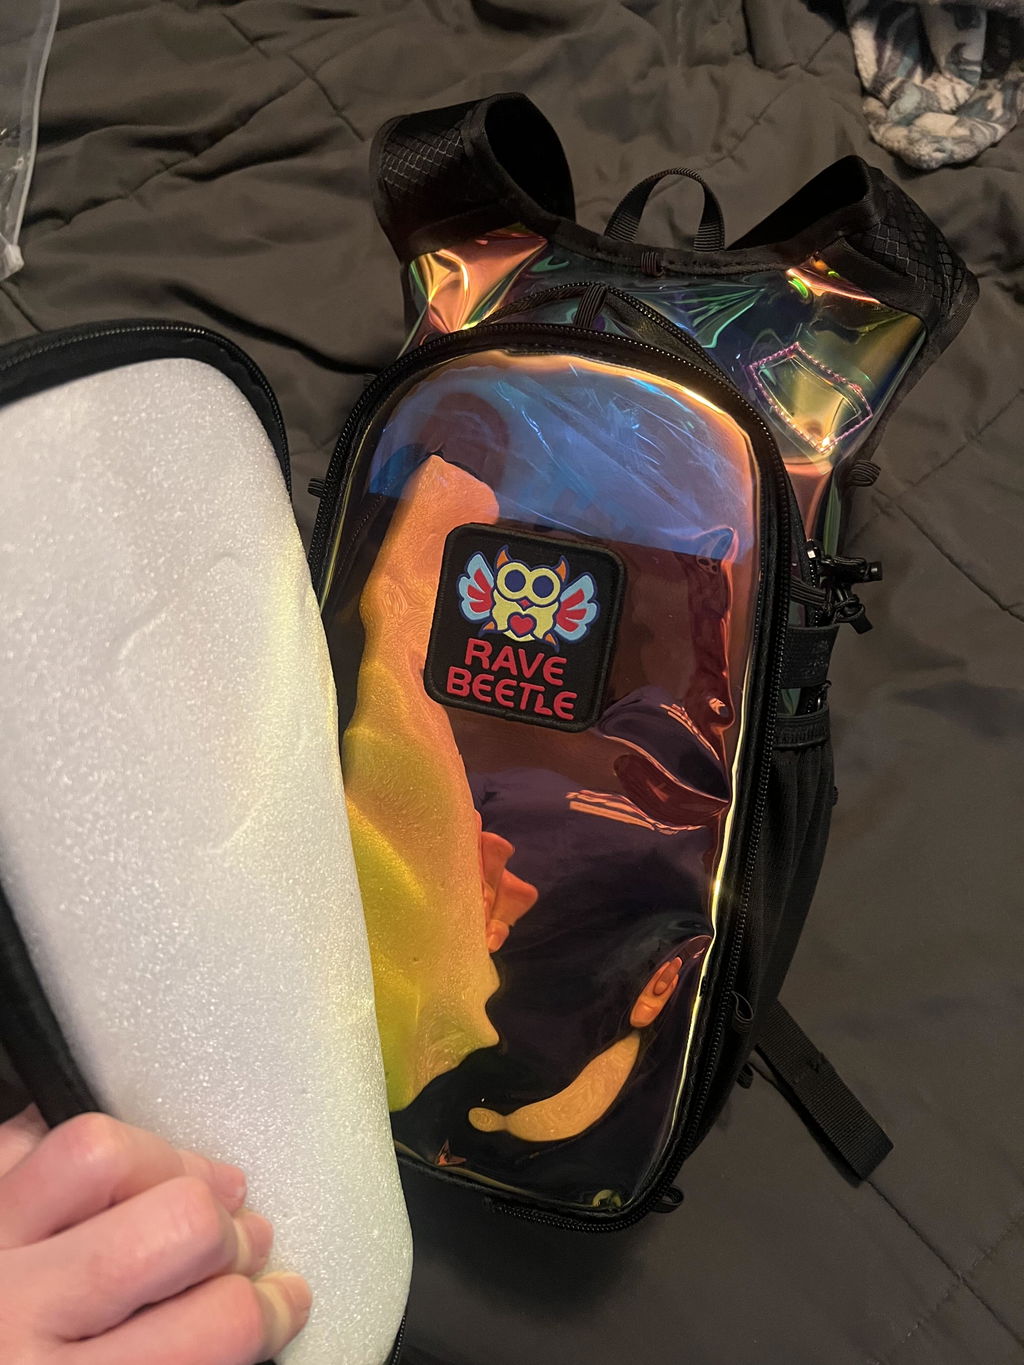
Why ChooseRaveBeetle?
RaveBeetle designed packs with easy maintenance in mind—because the best gear is gear you actually use.
Quick-disconnect systems make disassembly simple. Detachable components (vibe prints, wings, LED panels) clean separately for better results. Wide-mouth openings give you easy access for thorough cleaning.
Our packs are built by ravers, for ravers. We know what it takes to keep gear fresh through festival season because we live this scene too.